
Radon is one of those home hazards you never see, smell, or taste — which is exactly why it gets ignored. It’s a naturally occurring radioactive gas that seeps up from soil and rock and can collect inside homes, and the only way to know whether your house has a problem is to test for it.
The good news: testing is cheap, simple, and doesn’t require any special skills. A basic test kit costs less than a pizza, takes a few minutes to set up, and gives you a clear answer about your home’s radon level. This guide walks you through everything a beginner needs to know — what radon is, which test to buy, where to put it, and what to do with the results.
What Radon Is and Why It Matters
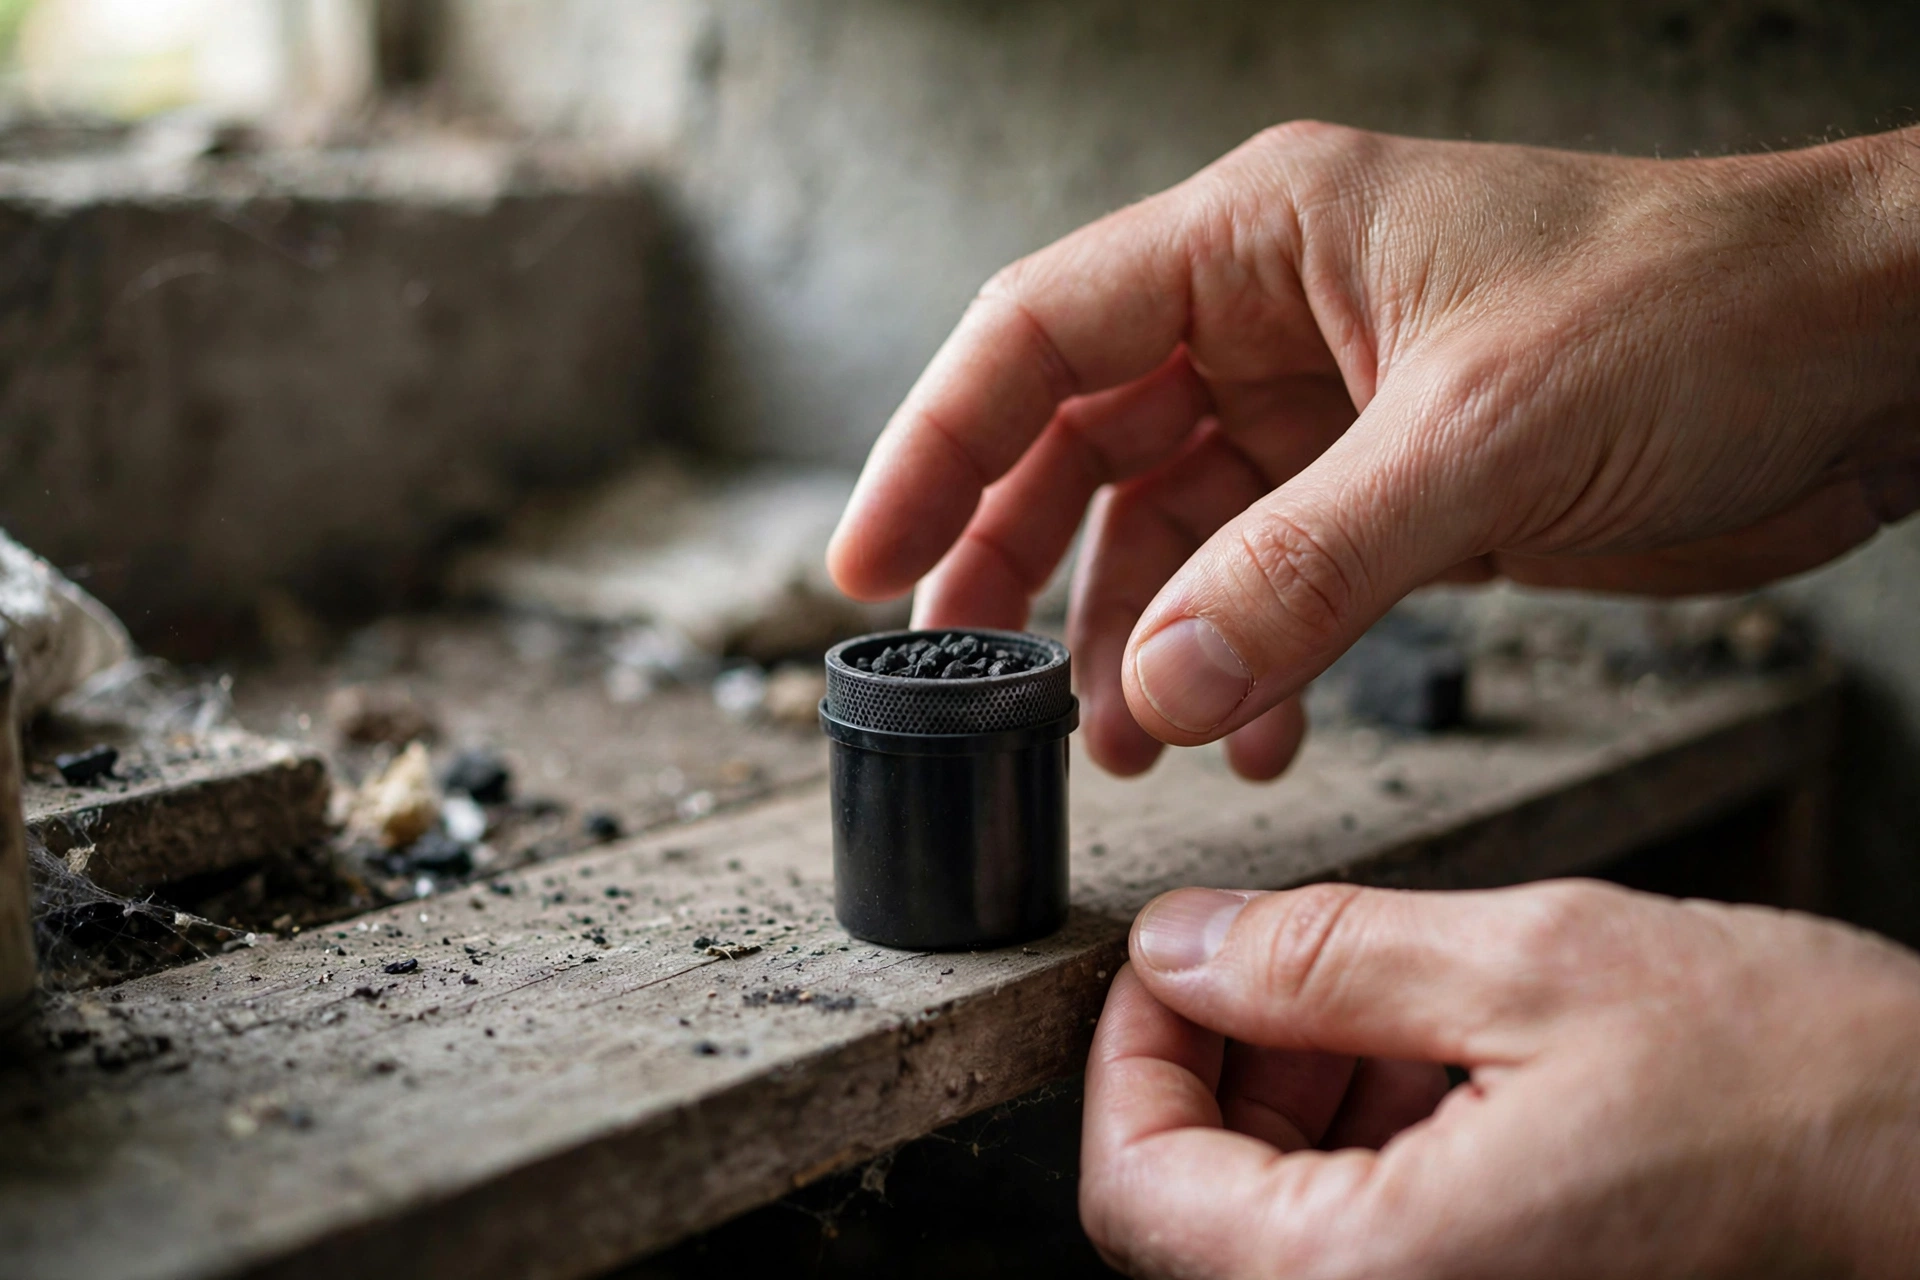
Radon forms from the natural breakdown of uranium in soil, rock, and water. Outside, it disperses harmlessly into the air. But when it seeps through cracks in your foundation, gaps around pipes, or even through the concrete itself, it can build up indoors to levels that matter for your health.
Breathing elevated radon over many years damages lung tissue. The EPA considers radon the leading cause of lung cancer among non-smokers, and it recommends that every home be tested — regardless of age, foundation type, or neighborhood. Your neighbor’s low result says nothing about your house; radon levels vary dramatically from one home to the next, even on the same street.
The EPA’s action level is 4 picocuries per liter (pCi/L). At or above that number, the agency recommends taking steps to reduce radon in your home. If you’re dealing with both radon and other invisible indoor hazards, our guide to radon and carbon monoxide explains how these two threats differ and why each needs its own detector.
Short-Term vs Long-Term Test Kits
DIY radon test kits come in two main flavors, and the right choice depends on how quickly you need an answer.
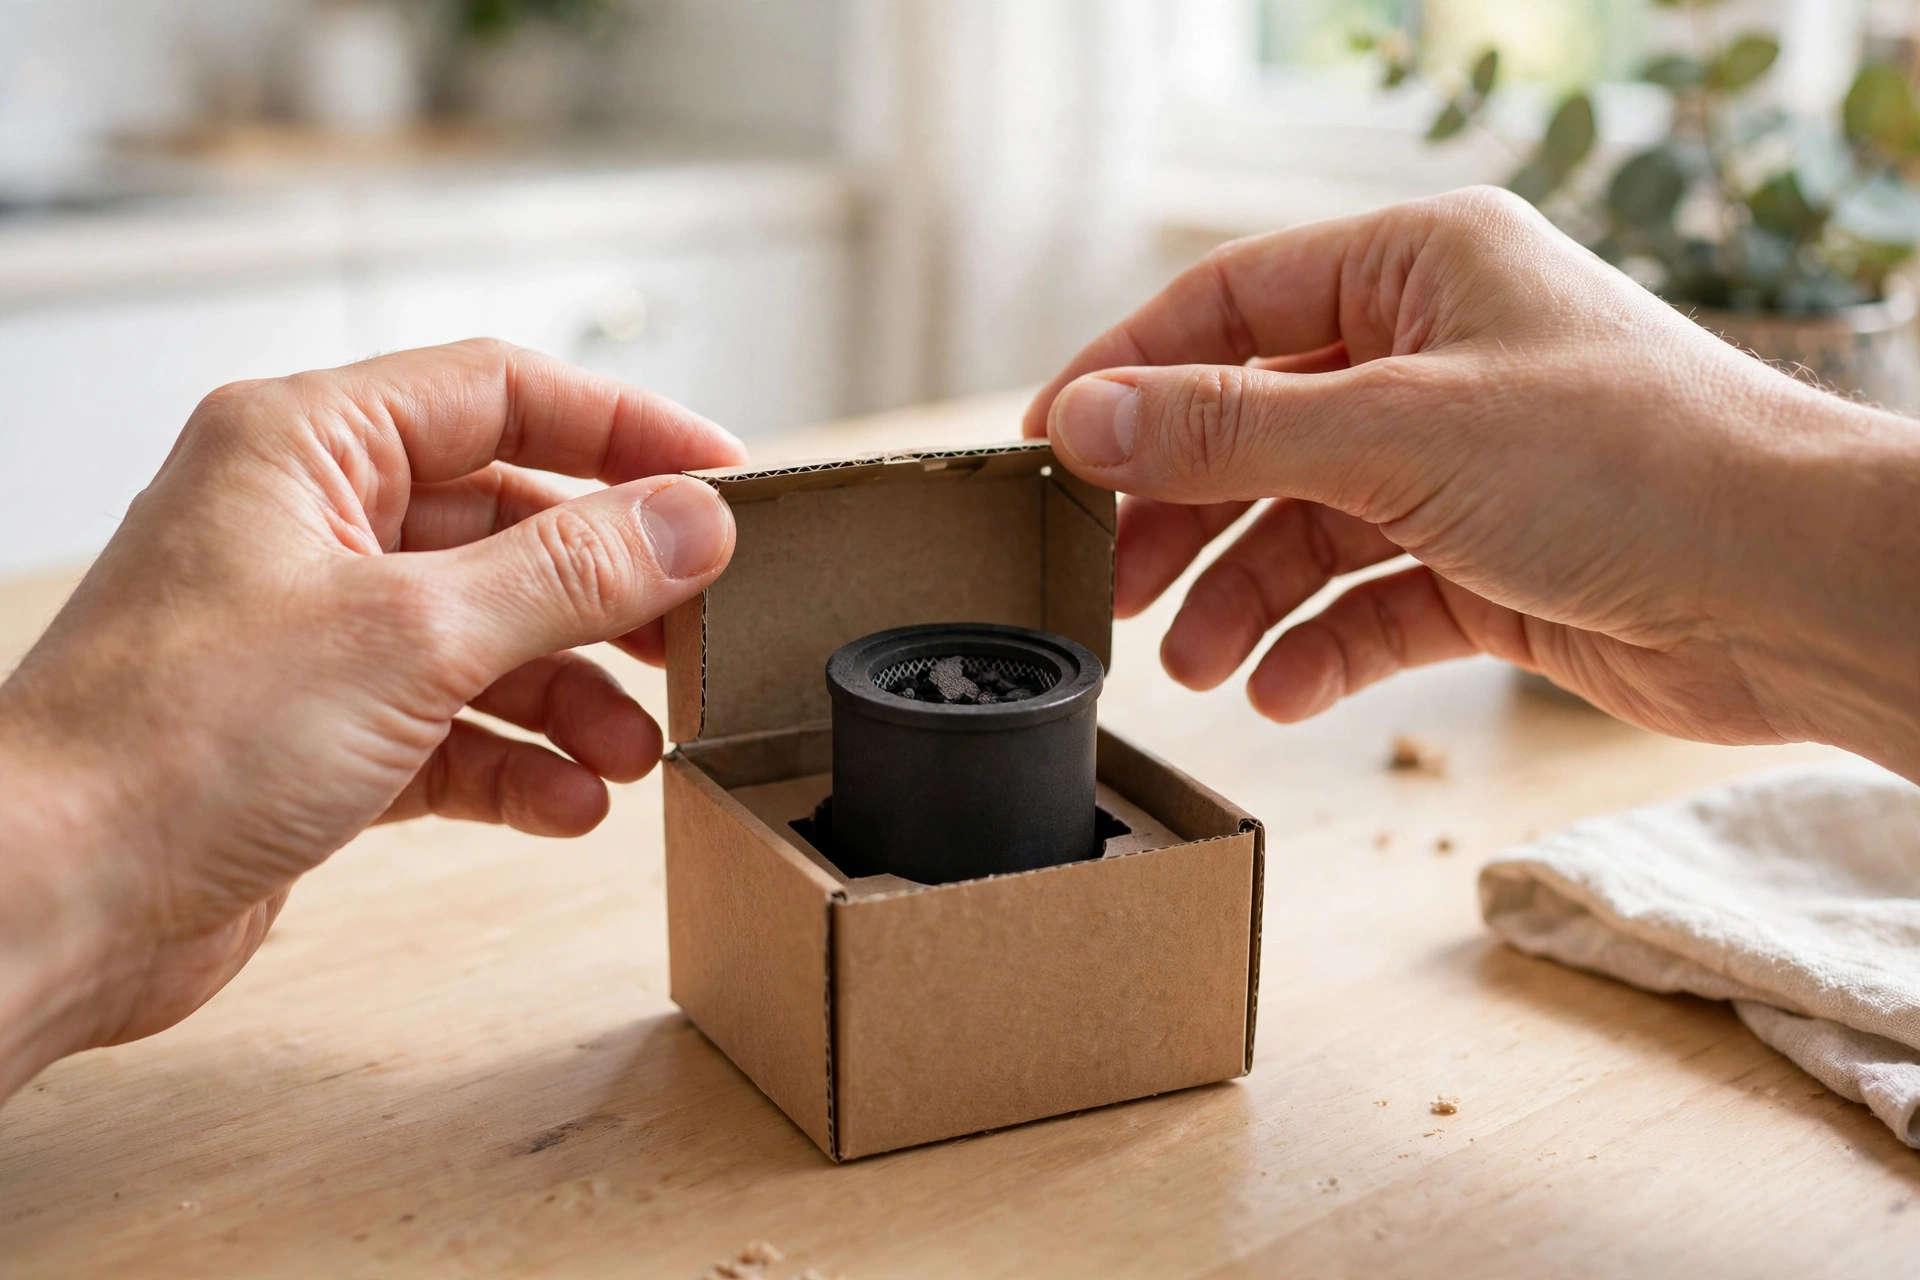
Short-term kits (usually charcoal canisters or liquid scintillation vials) measure radon over 2 to 7 days. They’re inexpensive, widely available at hardware stores, and ideal when you’re buying or selling a home or just want a quick first reading. You set the kit out, seal it up after the test period, and mail it to a lab for analysis.
Long-term kits (alpha-track detectors) stay in place for 90 days to a year. Because radon levels fluctuate with seasons, weather, and how you heat and ventilate your home, a long-term test gives a much better picture of your average exposure. If a short-term test comes back in the gray zone — say between 2 and 4 pCi/L — a long-term follow-up test is the smart next step.
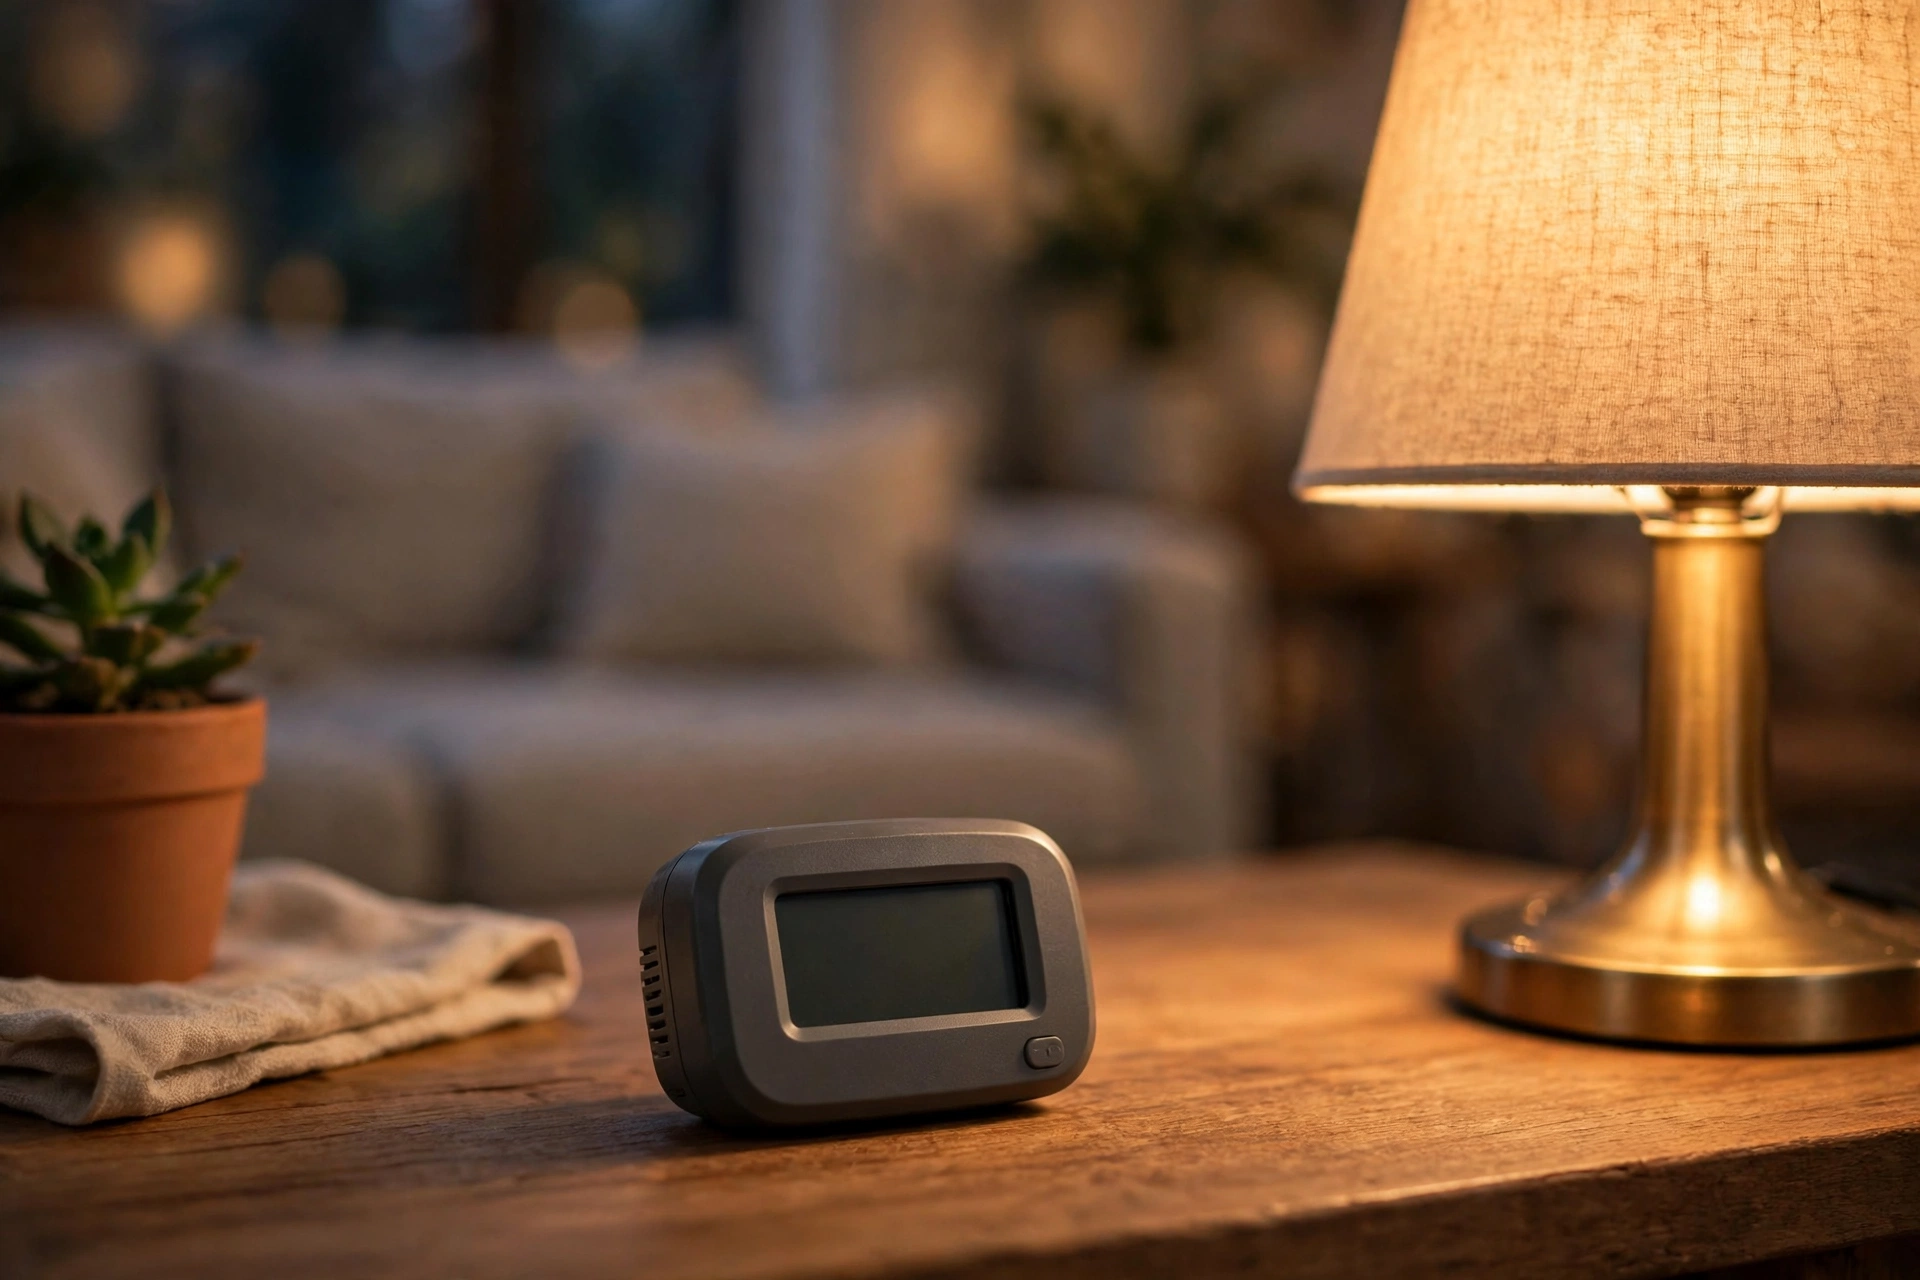
There’s also a third option: continuous digital radon monitors. These plug-in devices display your current radon level and track changes over time, which is handy if you’ve already mitigated and want ongoing peace of mind. If that sounds appealing, take a look at our roundup of the best radon detectors for home use to compare continuous monitors with classic test kits.
Where and How to Place Your Test
Placement matters more than most people realize. A poorly placed test can under-read your real exposure and give you false confidence. Follow these rules:
- Test the lowest lived-in level. For most homes that’s the basement; if you don’t use the basement, test the ground floor. Place the kit in a room you actually spend time in — a bedroom, living room, or home office.
- Keep it at breathing height. Set the kit 20 inches to 6 feet off the floor, at least a foot away from walls, and away from drafts, exterior doors, and windows.
- Leave it undisturbed. Don’t move the kit during the test. Keep windows closed and avoid running whole-house fans or window fans for 12 hours before and during a short-term test — normal heating and cooling is fine.
- Avoid kitchens, bathrooms, and laundry rooms. Humidity and drafts in these rooms can skew results.
- Test one room per kit. If you want readings from multiple levels, buy one kit per level rather than moving a single kit around.
Write down the start date and time when you deploy the kit, and follow the included instructions exactly when sealing and mailing it. Labs typically return results within a couple of weeks.
Reading Your Results and What to Do Next
Your lab report will give you a number in pCi/L. Here’s how to interpret it:
- Below 2 pCi/L: Low. No action needed, though retesting every few years is still wise since conditions change.
- 2 to 4 pCi/L: The gray zone. Consider a long-term test to confirm your average level, and think about mitigation — the EPA suggests considering action in this range too.
- 4 pCi/L or higher: Take action. Contact a certified radon mitigation professional about installing a reduction system, typically a vent pipe and fan that draws radon from beneath your foundation and exhausts it outside.
Mitigation sounds intimidating, but it’s a routine job — most systems are installed in a day and are highly effective at bringing levels down. After any mitigation work, test again to confirm the system is doing its job. The EPA’s guidance on how often to test and retest your home is worth bookmarking for the long term.
And remember that radon is only one part of healthy indoor air. If you haven’t already, make sure your home also has working protection against the other silent threat — see our best carbon monoxide alarms and our tips to improve your indoor air quality.
Frequently Asked Questions
How long does a radon test take?
A short-term test takes 2 to 7 days of exposure plus lab processing time, so expect results in about 2 to 3 weeks total. Long-term tests run 90 days to a full year but give a more accurate average of your exposure.
Can I test for radon myself, or do I need a professional?
DIY test kits are perfectly reliable for an initial screening when you follow the placement instructions. Hire a certified professional if you’re buying or selling a home, need legally defensible results, or want help interpreting borderline readings.
Does it matter what season I test in?
Radon levels tend to be highest in winter when homes are sealed up and heating systems create pressure differences that draw soil gas inside. Testing in winter gives you a conservative reading; a summer test may understate your worst-case exposure.
My home is new. Do I still need to test?
Yes. New construction can have elevated radon too — it depends on the soil and how the foundation was built, not the age of the house. Some newer homes include passive radon-resistant features, but only a test confirms your actual level.
What does radon mitigation cost?
Costs vary by home and region, but a typical professionally installed mitigation system is comparable to other common home repairs. Get quotes from certified mitigators in your area, and always retest after the work is done.
Conclusion
Radon testing is one of the highest-value safety tasks a homeowner can do: it’s cheap, it’s easy, and it answers a question you can’t answer any other way. Pick up a short-term kit, place it on the lowest level you live in, and follow the instructions. Whatever the number comes back as, you’ll know exactly where you stand — and that’s the whole point.